Are you ever wondering why your flat feet causes back pain? Or how long it will take to gain foot arches and align your ankles?
And one of our most frequently asked questions… can you still wear stylish shoes whilst wearing orthotics?
Read this blog post for professional Podiatric advise for all your queries about flat feet for men, women and children.
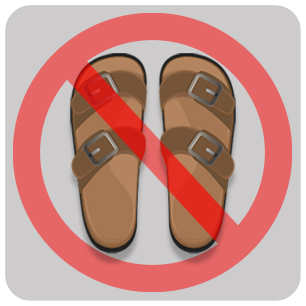 Can I still wear sandals with flat feet?
We ask you to limit the use of sandals during your flatfoot treatment. The reason for this is because we measure the angle that your flat foot is leaning in and then we counter-tilt you. So, if you wear a sandal with insoles during this time you are likely to have an ankle sprain. Therefore, supportive shoes that are strong soled with strong edges are the best during your treatment, however, times that you do want to wear a sandal if you are going to the mosque or you are going to the beach, those instances are absolutely fine to wear sandals without your insoles.
 How long does it take for my flat feet to become straight and aligned?
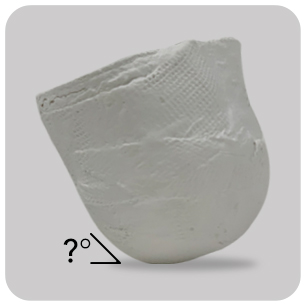
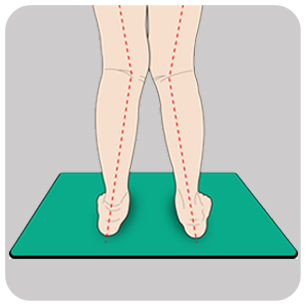
Initially, we would take a gyps cast of the feet and measure how many degrees your foot is leaning in which is the underlying cause of flat feet. Once we know this angle we then counter tilt you so that the foot is aligned. We usually tilt the foot by 5° increments because any more than this will make the ankle twist. So, if you are 45° leaned in and you are an adult male, we would change the orthotic every 5° from 45° to 0°, which would be 9 pairs of orthotics at six week increments that would take approximately a year to complete this treatment.
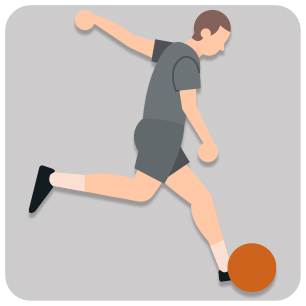 Could my flat feet be affecting my sports performance – golf, football, etc?
Some types of flat feet are very useful for particular sports such as ice hockey but most sport involves having a stable and straight ankle. Your arch needs to engage as a spring for sports such as running and jumping so that is why some people at a certain age (usually teenagers) are not able to pursue their sporting career because there is swelling of the knees or many ankle sprains. So, if the sports person of any age starts to develop injuries from running (even if they are not in the foot) we always advise to come and have a biomechanical assessment with the Podiatrist to see if there is any underlying issue such as a leg length discrepancy or pelvic tilt that can be made better with corrective orthotics.
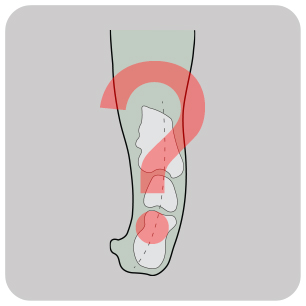
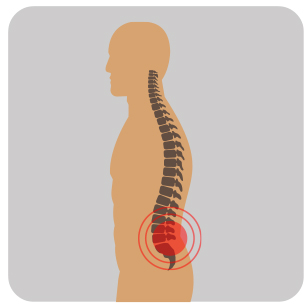 How can my flat feet cause back pain?
Flat feet are mostly due to the ankle leaning inwards, this causes internal rotation of the legs which in turn affects the hips, and the pelvis tilts forward. When this happens (particularly in men) it will put pressure on the lower part of the back and cause back pain. By tilting the ankles back to straight and lifting the arches, the legs externally rotate in to their neutral posture and the pelvis tilts back to normal alignment.
 Do I need to have surgery to fix my flat feet?
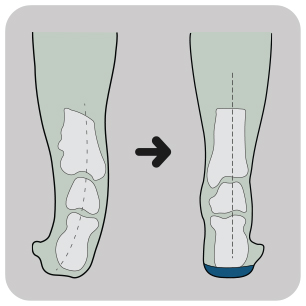
It is extremely rare to need surgery to correct flat feet. The majority of flat feet actually occurs from the ankle leaning inwards and the arch of the foot then collapses. So, by tilting the heel bone straight to align the ankle and lifting the arch back up again, the flat foot should be cured. Of course, there needs to be hyperpronation in the ankle and subtalar joint present for the arch to be lifted for it to be cured, if the ankle is straight and the foot is still flat it may be due to a number of reasons such as excess of ‘fatty packaging’ on the foot that is seen in some areas of the world. It is normal or it can be a boney fusion in the foot from some various diseases so the Podiatrist needs to assess the foot to make sure that the foot can corrected.
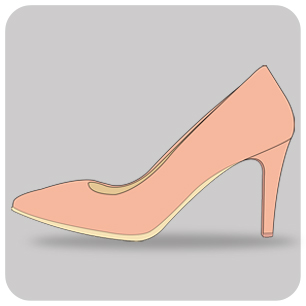 I still want to wear high heels/stylish shoes… can I do this while wearing orthotics? Do I have to wait until my treatment is over?
Whilst orthotic therapy is occurring, the foot must be held at 90° to the leg which means flat shoes must be worn during the orthotic treatment. However, if you want to wear high heels for a special occasion or for an important meeting that is absolutely fine to wear high heels without your insoles, but most activities and daily life we need you in flat shoes to get the ankle back to a neutral position.
 Is it too late for me to fix my flat feet?
It is NEVER too late to correct flat feet! In fact it is actually faster with adults (especially adult males) as children take longer to correct because they have human growth hormones that make the ligaments very stretchy. It is these ligaments that we need to contract and tighten in to a straight position when we are aligning and lifting the arch and ankle joints. So, adults (especially males) have the fastest results because every 5° that we tilt the foot takes six weeks, and with children the equivalent time takes 3-6 months.
 Are my flat feet the cause of my bunions/corns?
Flat feet are usually caused from the ankle leaning inwards. The arch of the foot is actually made up of quite a number of bones and when the arch collapses the first metatarsal can end up falling out of the foot and away from the big toe joint which is what is commonly known as a bunion. Usually, if we are going to correct a bunion non surgically, or make it better, we will align the ankle straight again using an orthotic to lift the arch. Also, if we have to align the big toe we will use an electro muscle stimulator designed for the foot and some sports tape to keep the big toe straight for a number of weeks.
 How long does my child have to wear orthotics? Will they still be able to participate in school sports?
The child’s ankles and flat foot will be measured to see how many degrees the feet are leaning in. With the child we can get 5° every six months and with every six months it depends on the ankle alignments. So if the child is 25° leaning in we would tilt the child’s orthotic 5° every six months, so in a 25° child it would take 2 1/2 years. The maximum time is 4 1/2 years if we see the child regularly every six months.
 What is the best school shoe/PE shoe for my child? Which brand?
For school shoes and PE shoes rather than the brand being important it is more about the structure of the shoe. We always want a strong soled shoe with strong support. Sometimes the better known brands are more expensive because there are more components and reinforcements inside the shoes, instead of very soft soled shoes. So, shoes from well-known brands that keep children’s health for their feet are the most desirable.
 My child has ‘knock knees’ when they walk and stand. Will orthotics help fix this?
Knock knees are where the knees come together and this is what happens when both legs lean inward. If it just happens on one leg we call it a ‘K’ leg because one leg is straight and the other one leans in at the knee. There are two main reasons why the knees can knock together, it is either from the hip and pelvis, or it is coming from the ankle and feet. So, the podiatrist will assess the feet to see if the ankle can be straightened and if this sorts out the alignment of the leg then it is only coming from the foot. If the foot and ankle is normal and the knees are still knocking together then the problem is coming from the hip and the pelvis. It is easy to assess this, the podiatrist will align the feet and if the legs go straight it is only coming from the feet. Orthotics will align the ankle and are worn at six months increments. We change the angle of the orthotic 5° every six months but the whole time the child’s ankle, feet and knees is held in a straight position with an orthotic that goes inside the school shoe and sports shoe and is to be worn the majority of the time.
For appointments and other queries:
Call: +971 4 3435390
WhatsApp: +971 50 355 3024
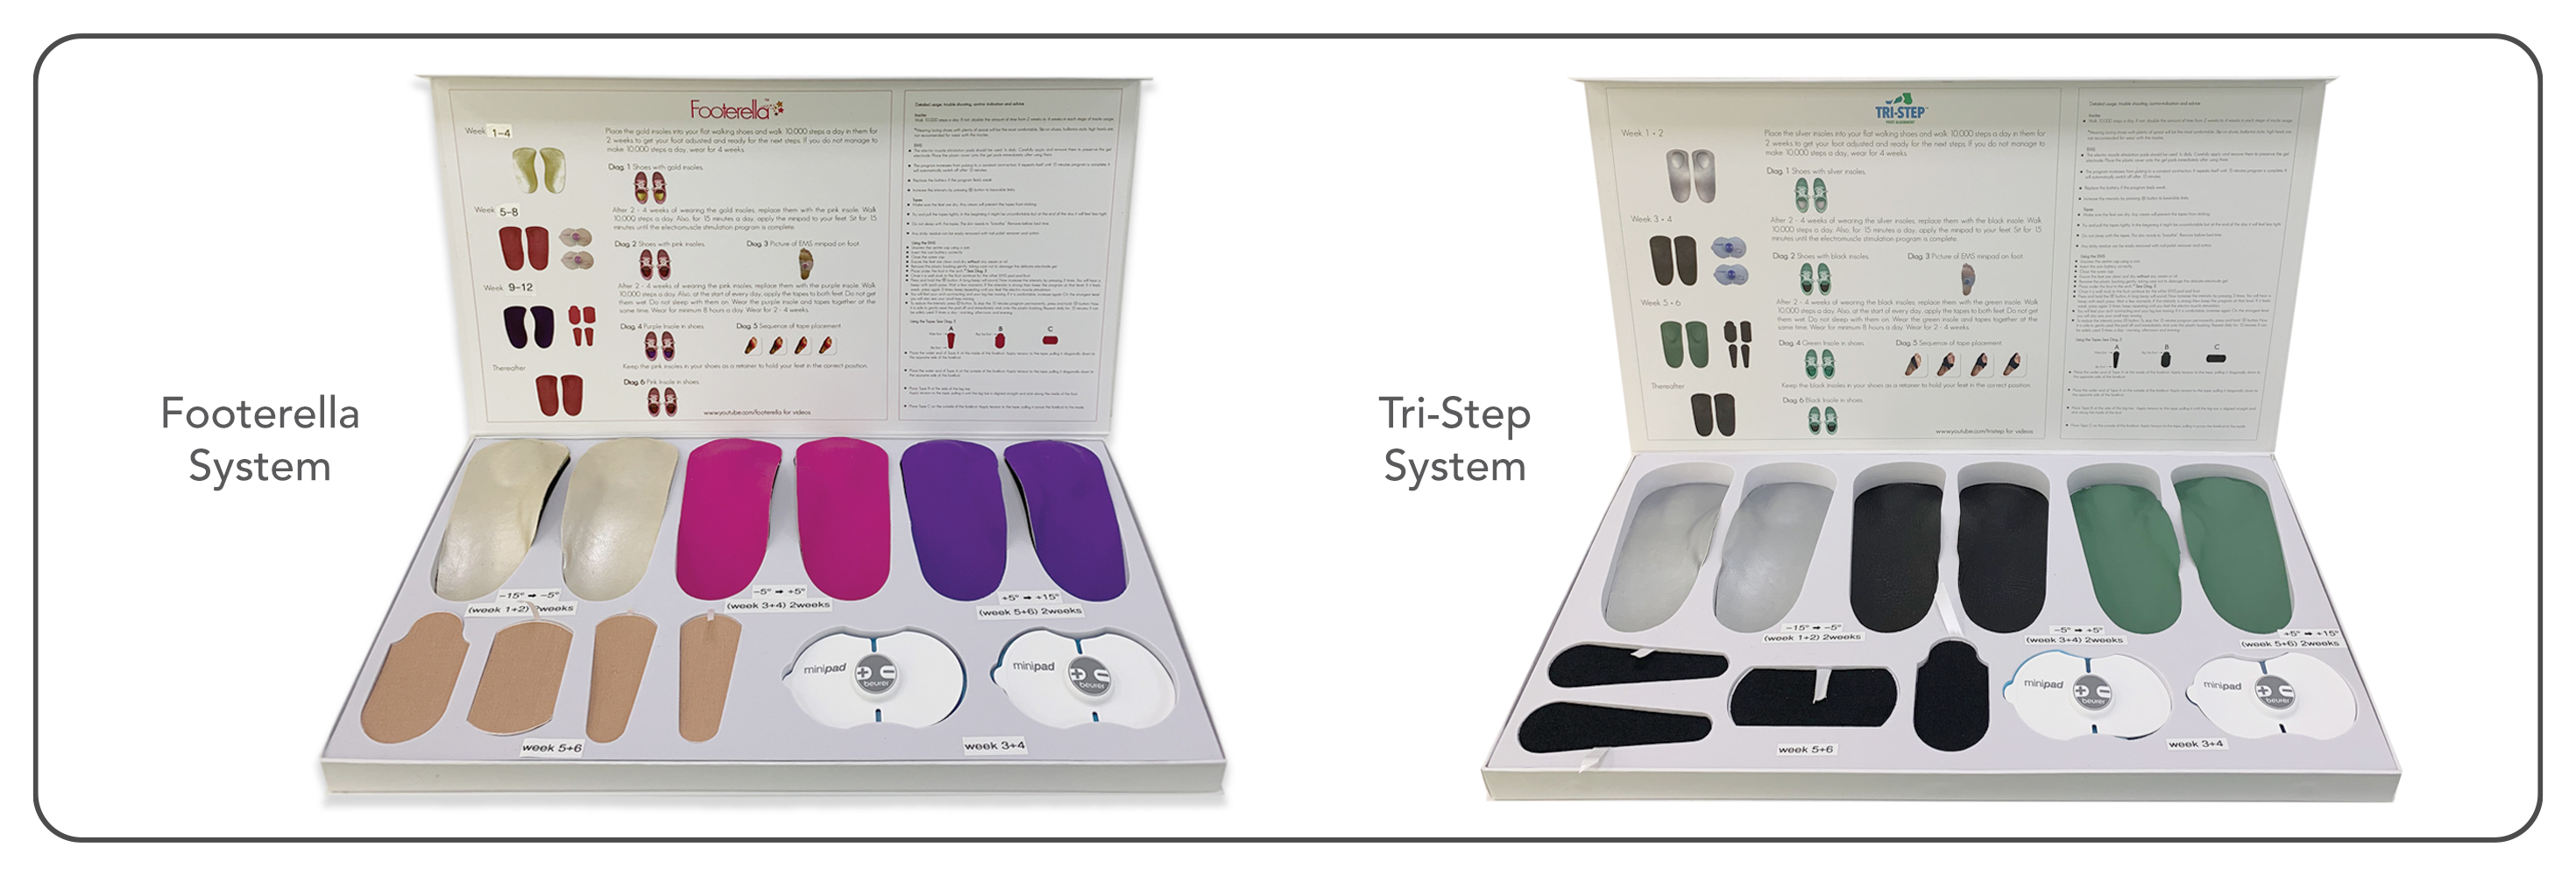 We have two main products to alter this which is the ‘Footerella System’ for women and the ‘Tri-Step System’ for men. Both of the systems have the same products in different sizes such as orthotics, foot binding tapes and electromuscle stimulators.
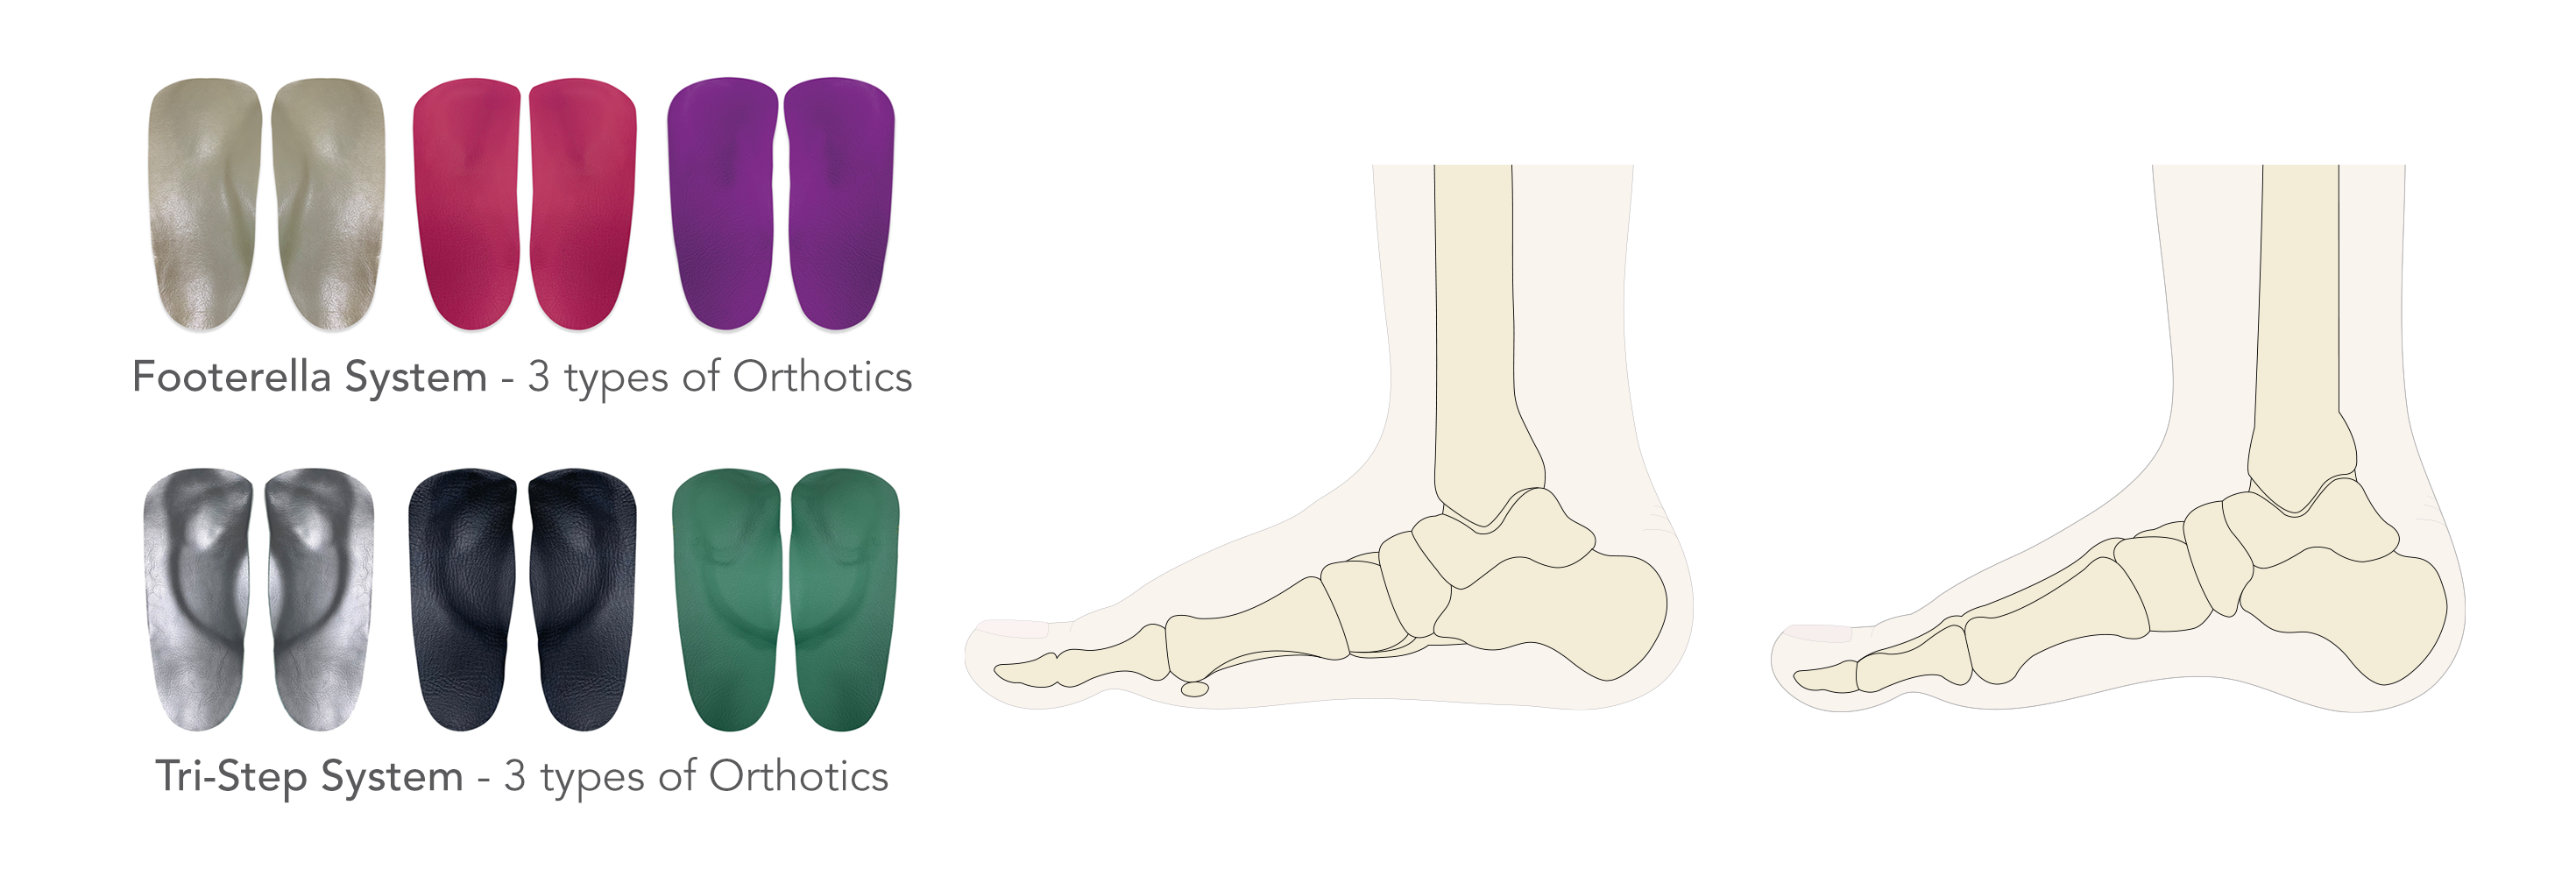
 Secondly, the electromuscle stimulators are used to tighten and strengthen the foot muscles. This is perfect for people are that adjusting to wearing orthotics and may feel some minor discomfort or aching feeling in their feet. It is also beneficial to use an electromuscle stimulator if you have been standing or walking for a long time. This device is most popular for people with occupations that require standing for lengthy periods of time such as in the military, cabin crew and teachers.
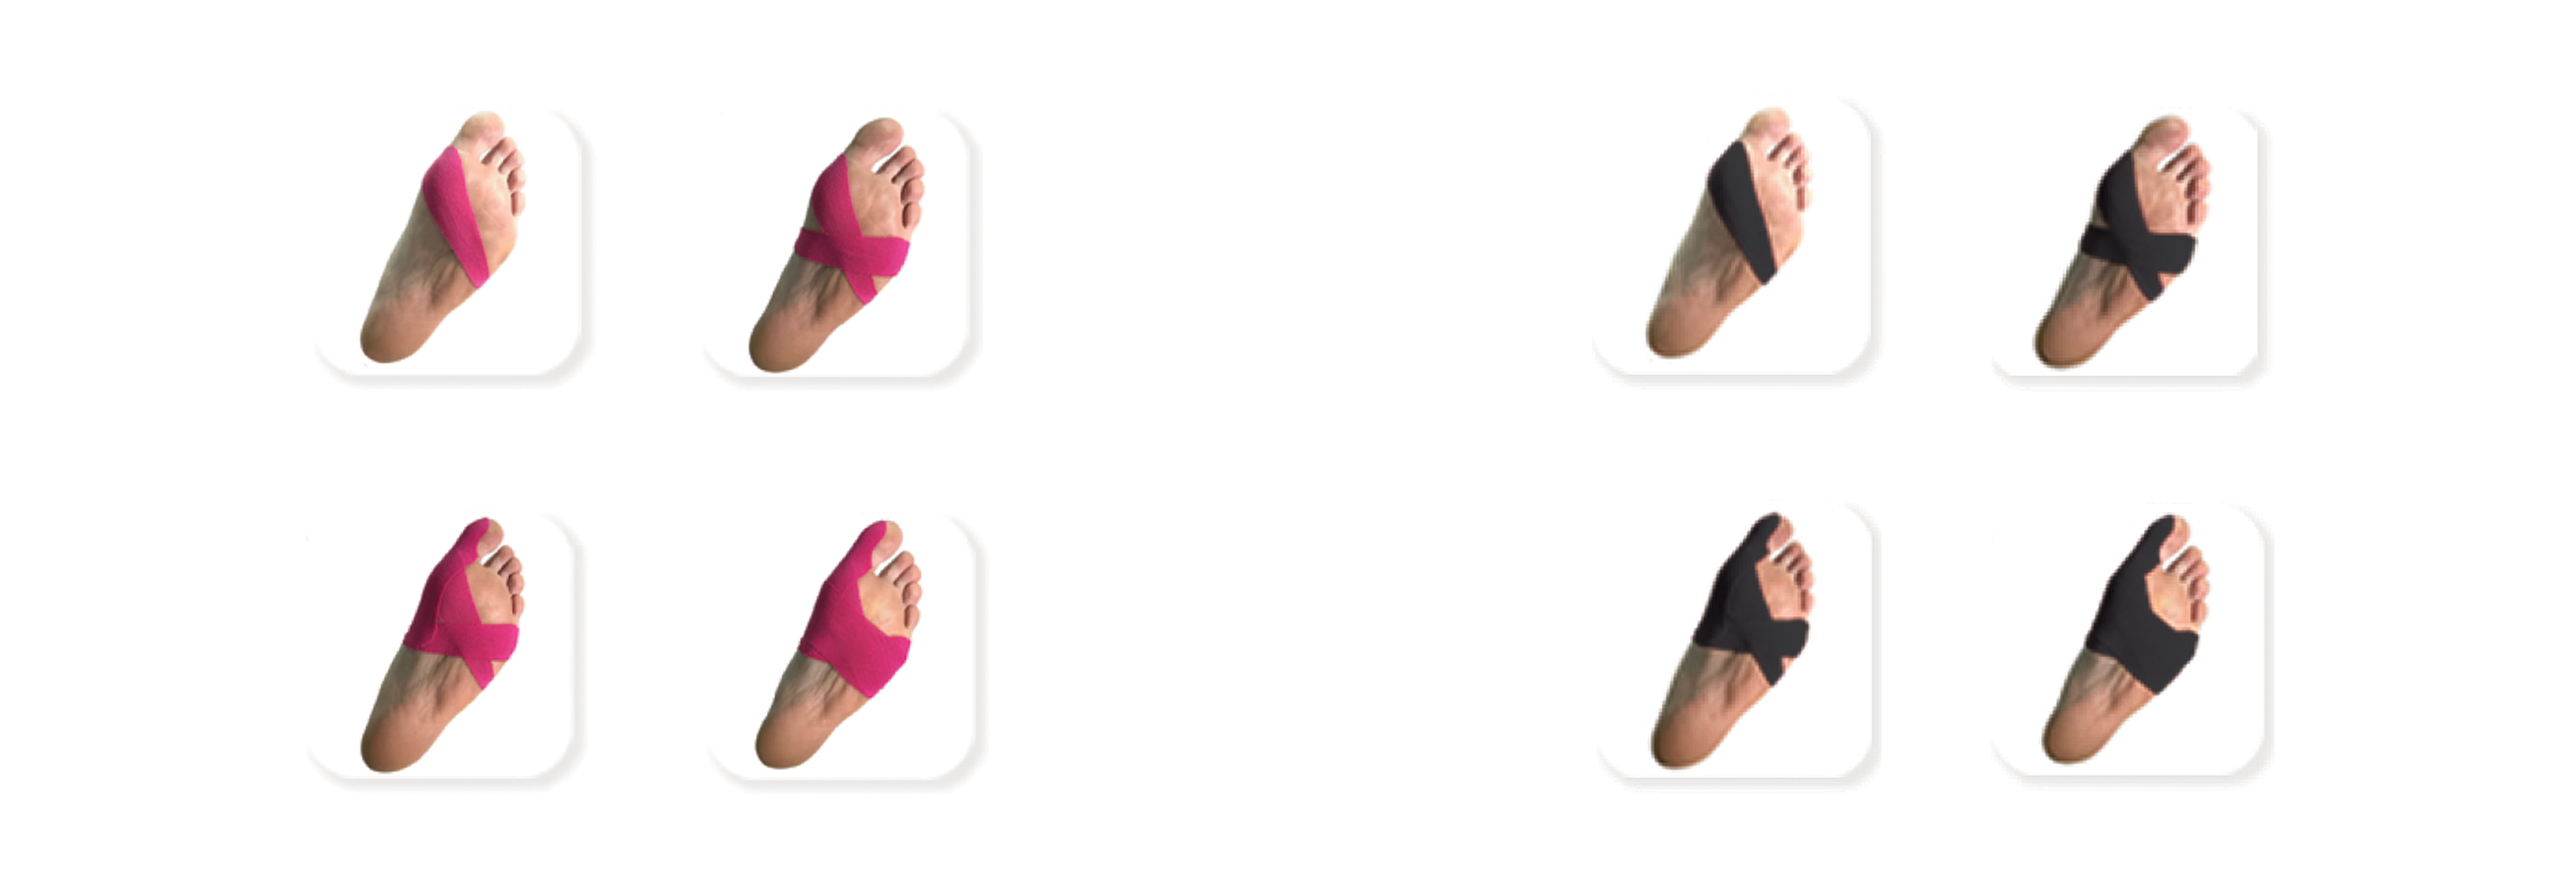 Lastly, the Footerella and Tri-Step system’s have foot binding tapes which helps to support the ligaments in the feet.
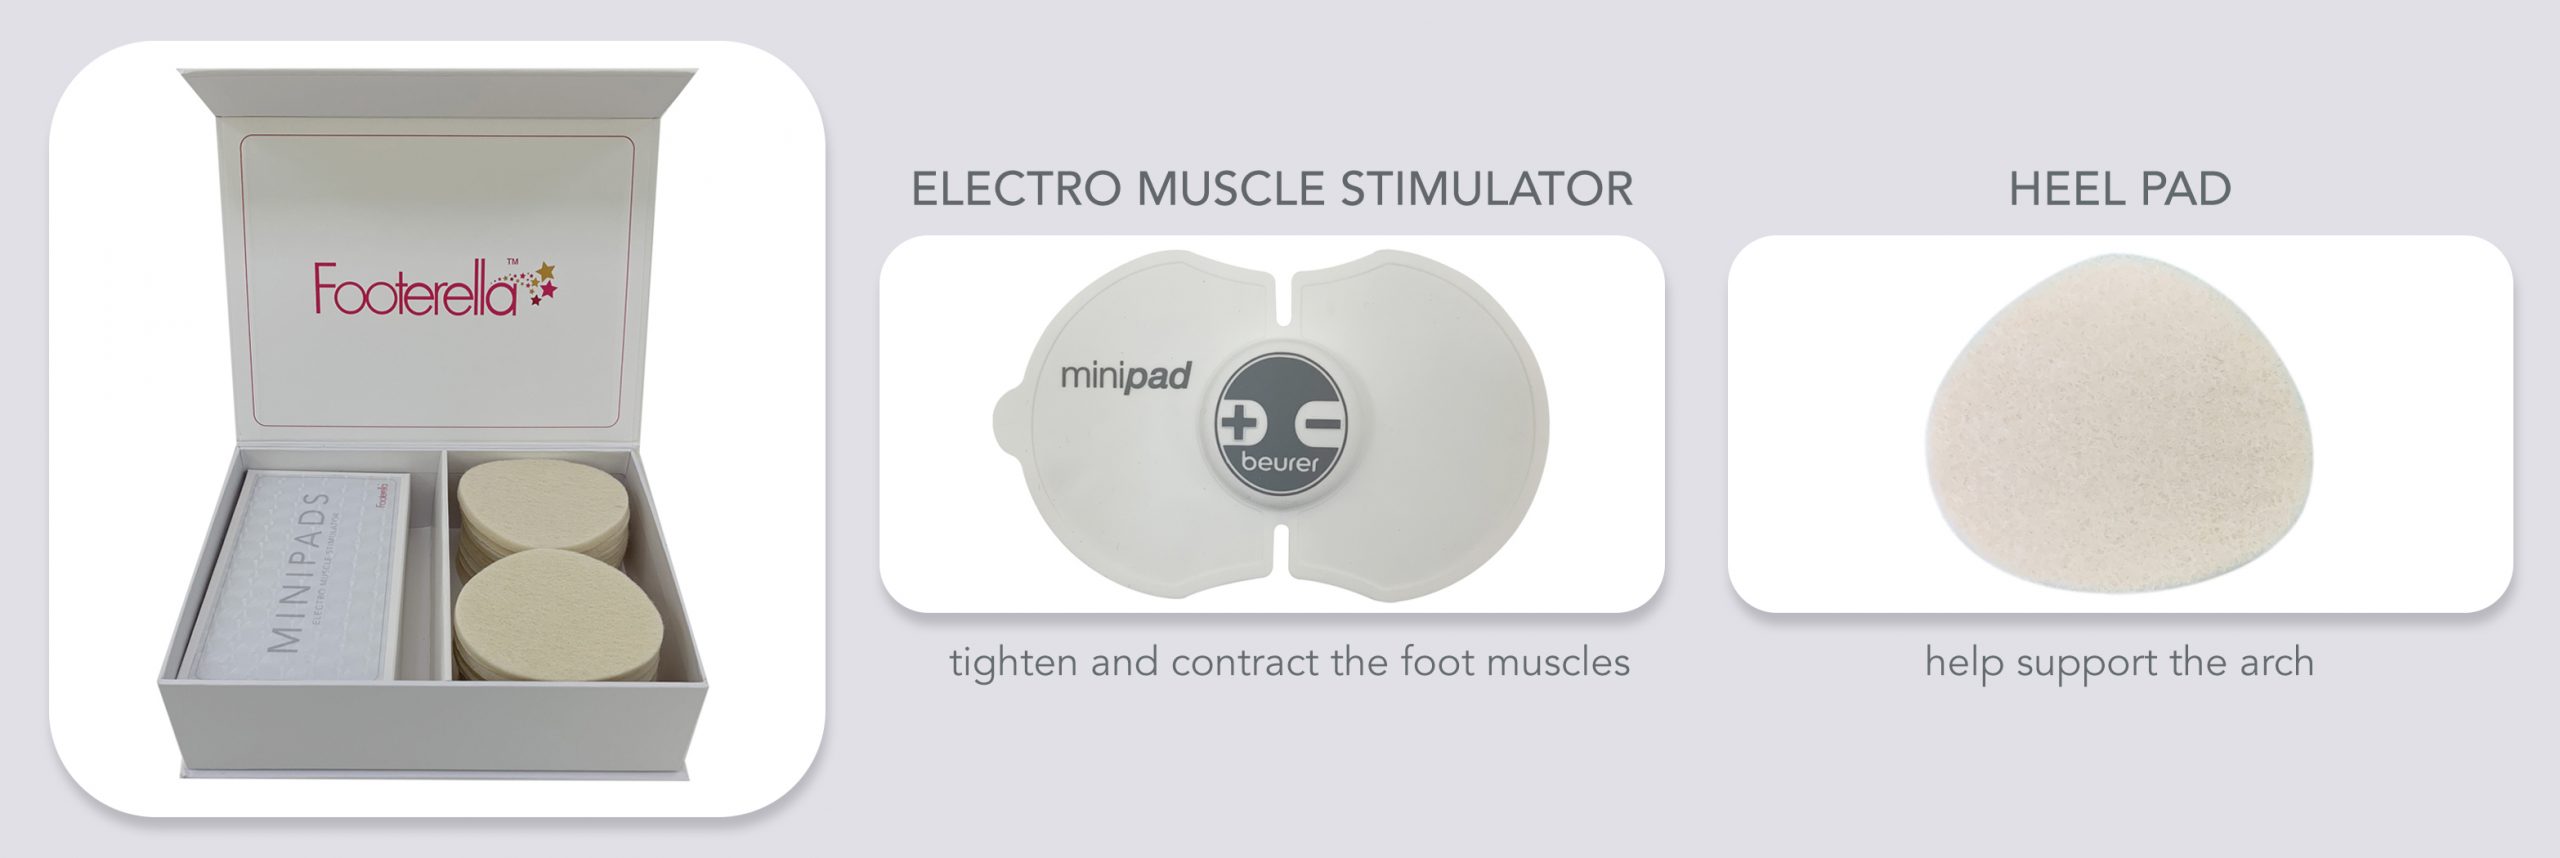
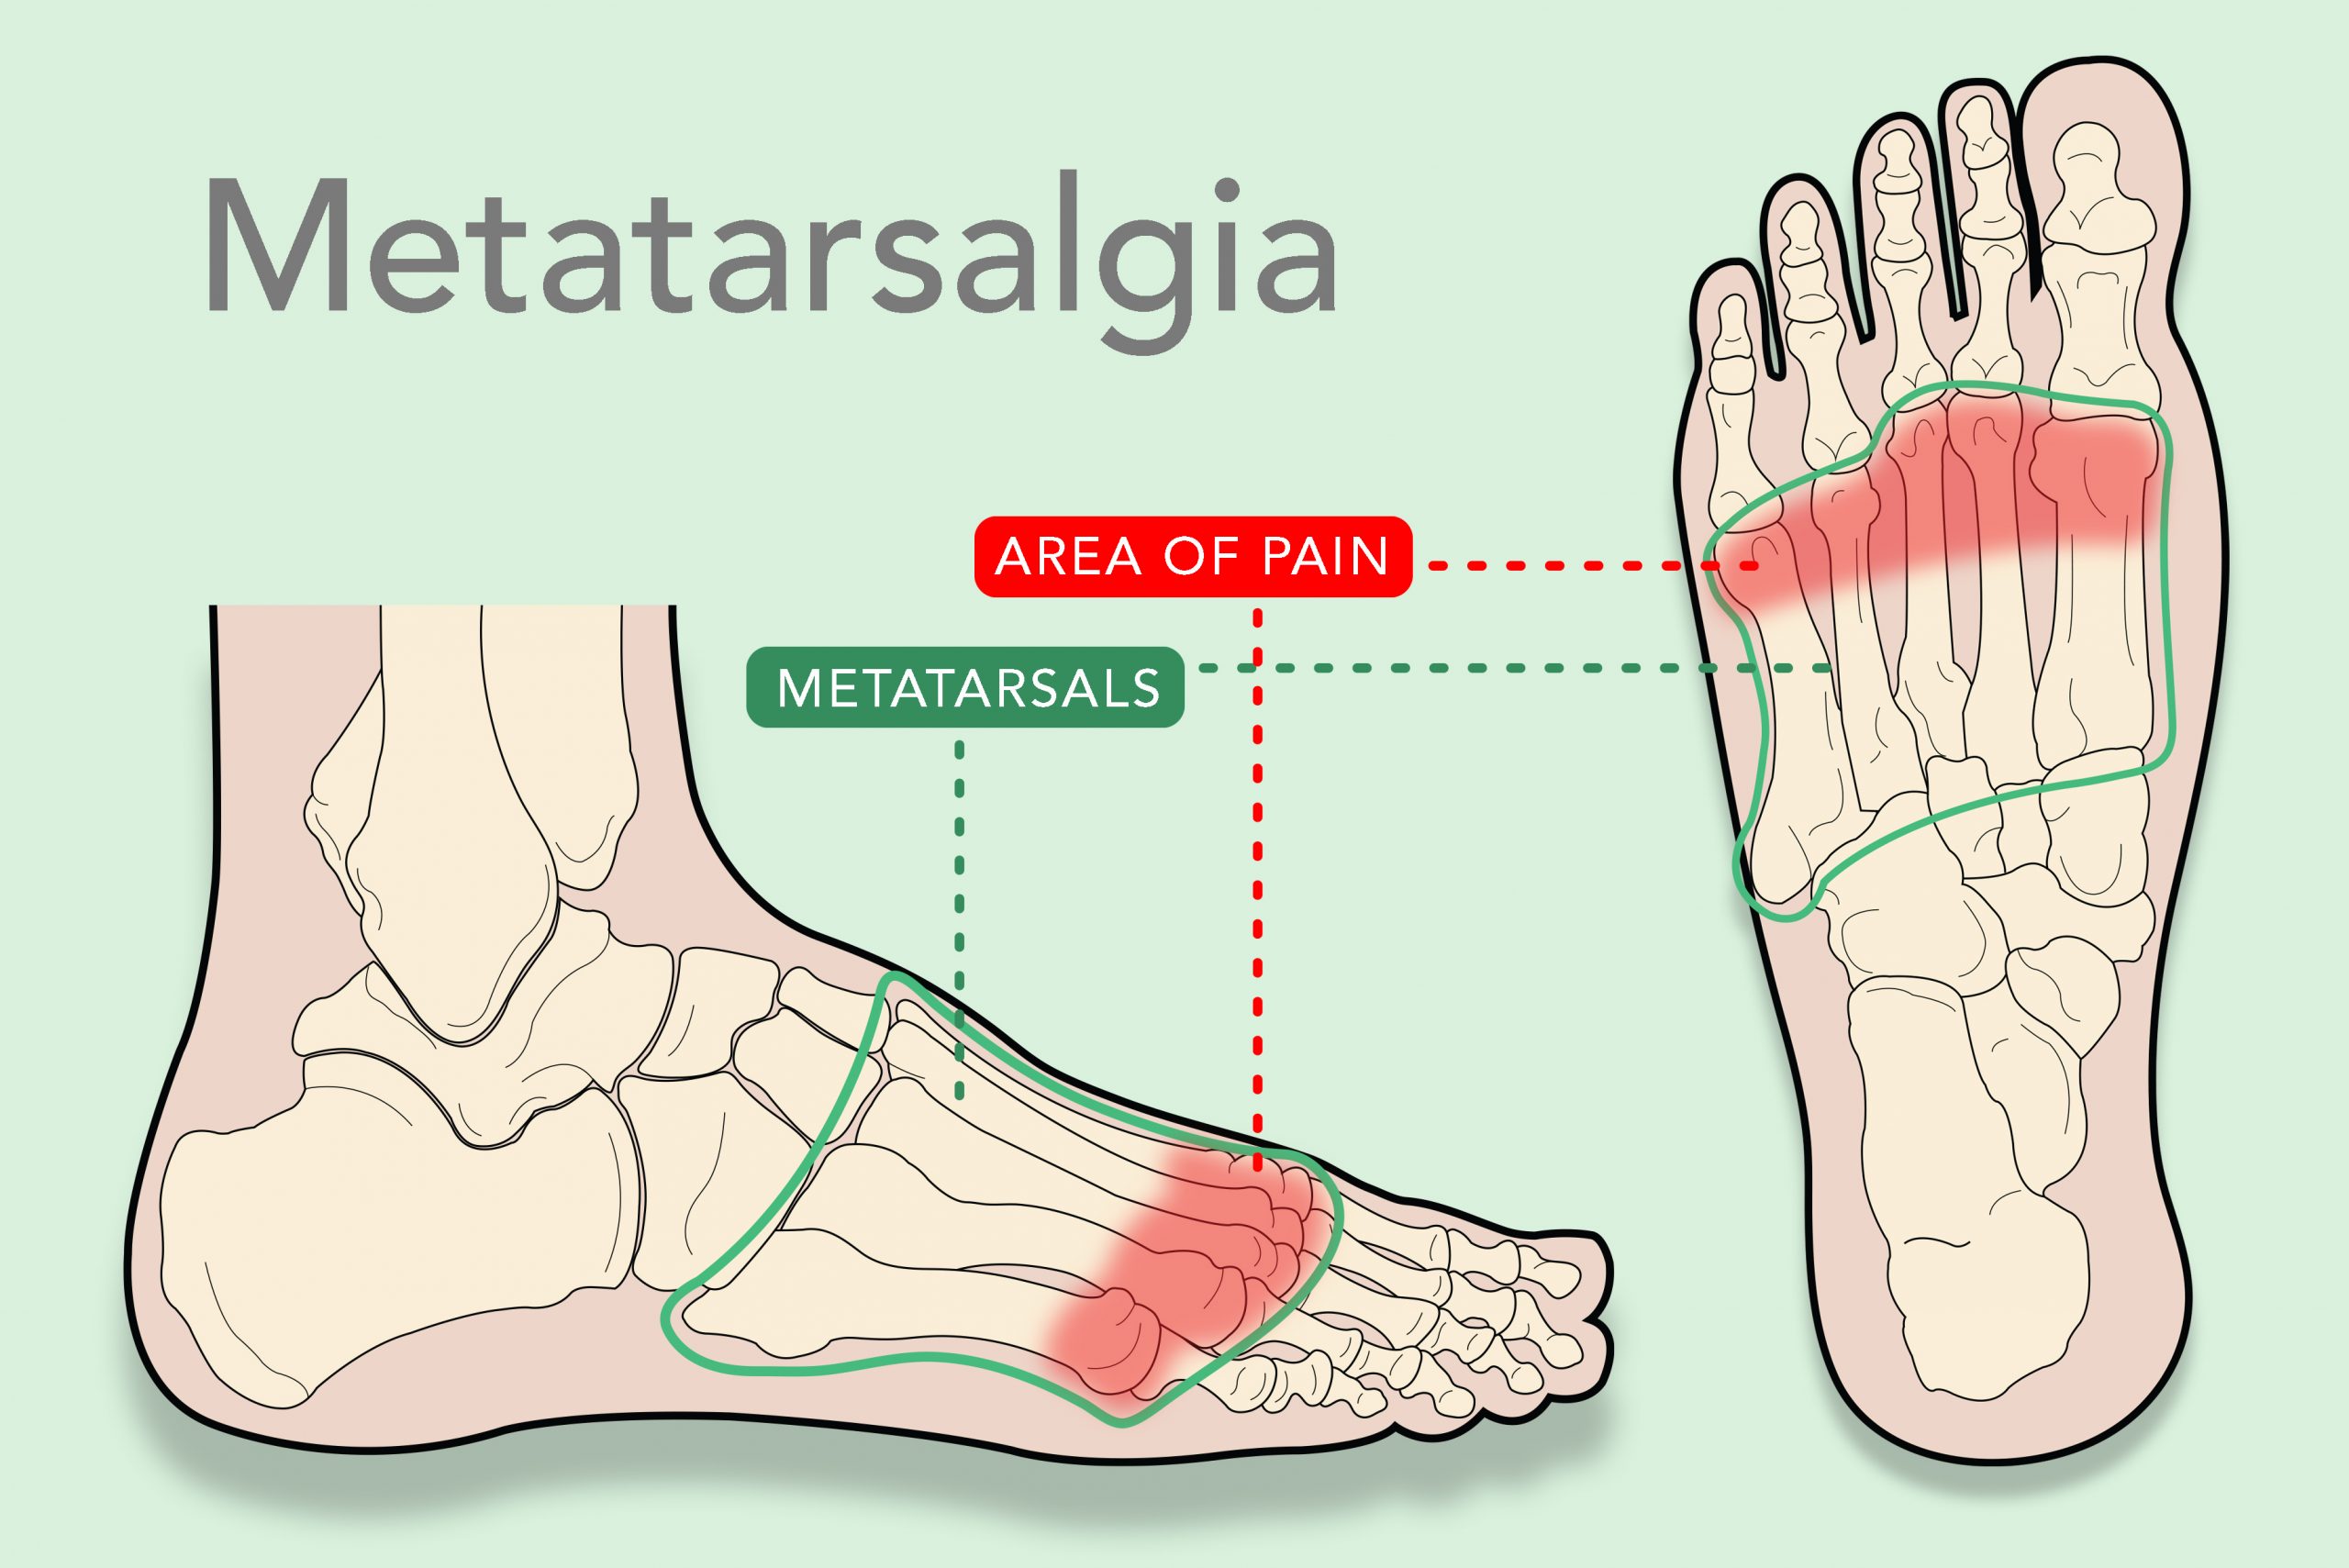
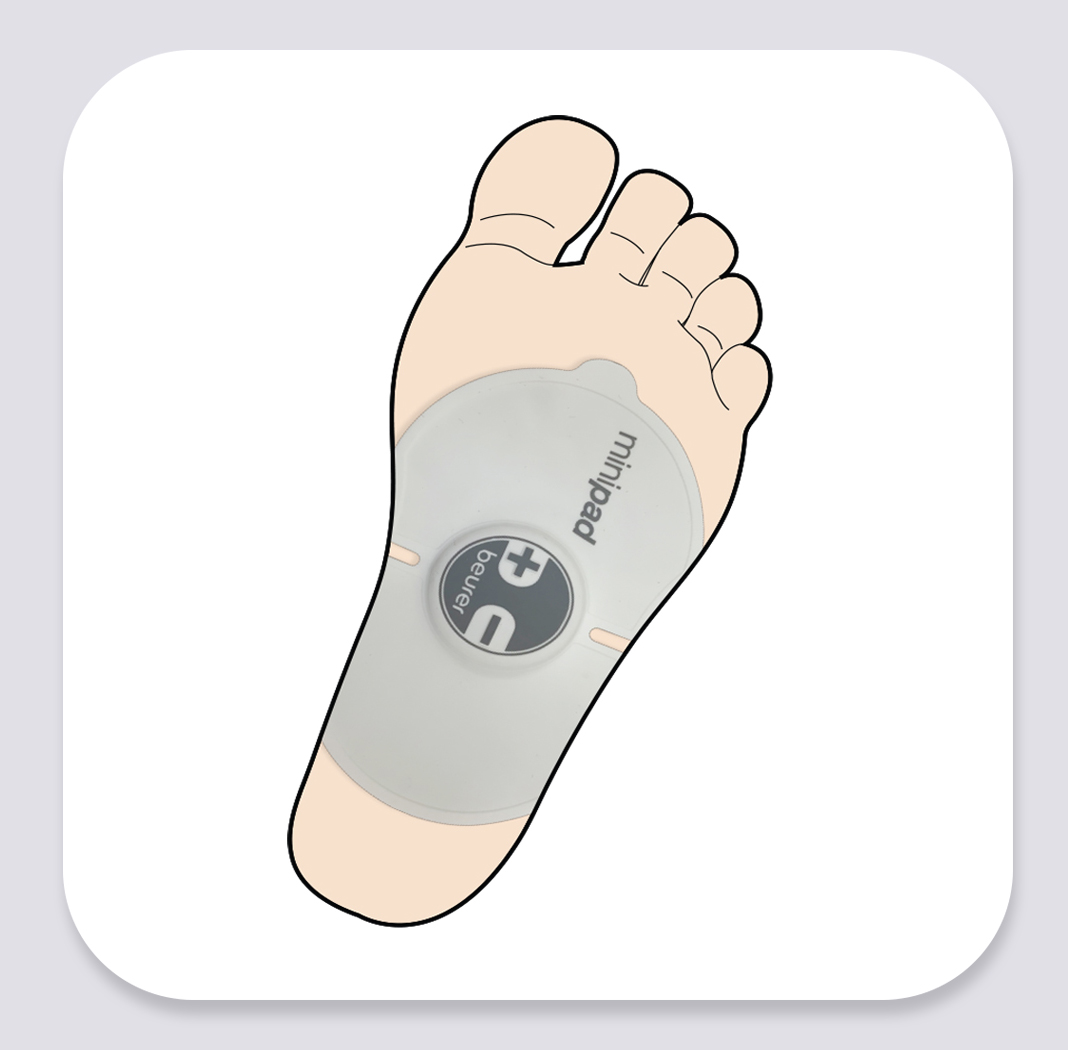 There are a couple of different ways you can use both of these products. For example, the EMS devices can be placed on the arch and across the forefoot on the sole of your foot which helps strengthen the inter-metatarsals. You may leave the EMS device on your foot for around 10-20 minutes to tighten the muscles and relieve the pressure and strain which is gathering in the heel area.
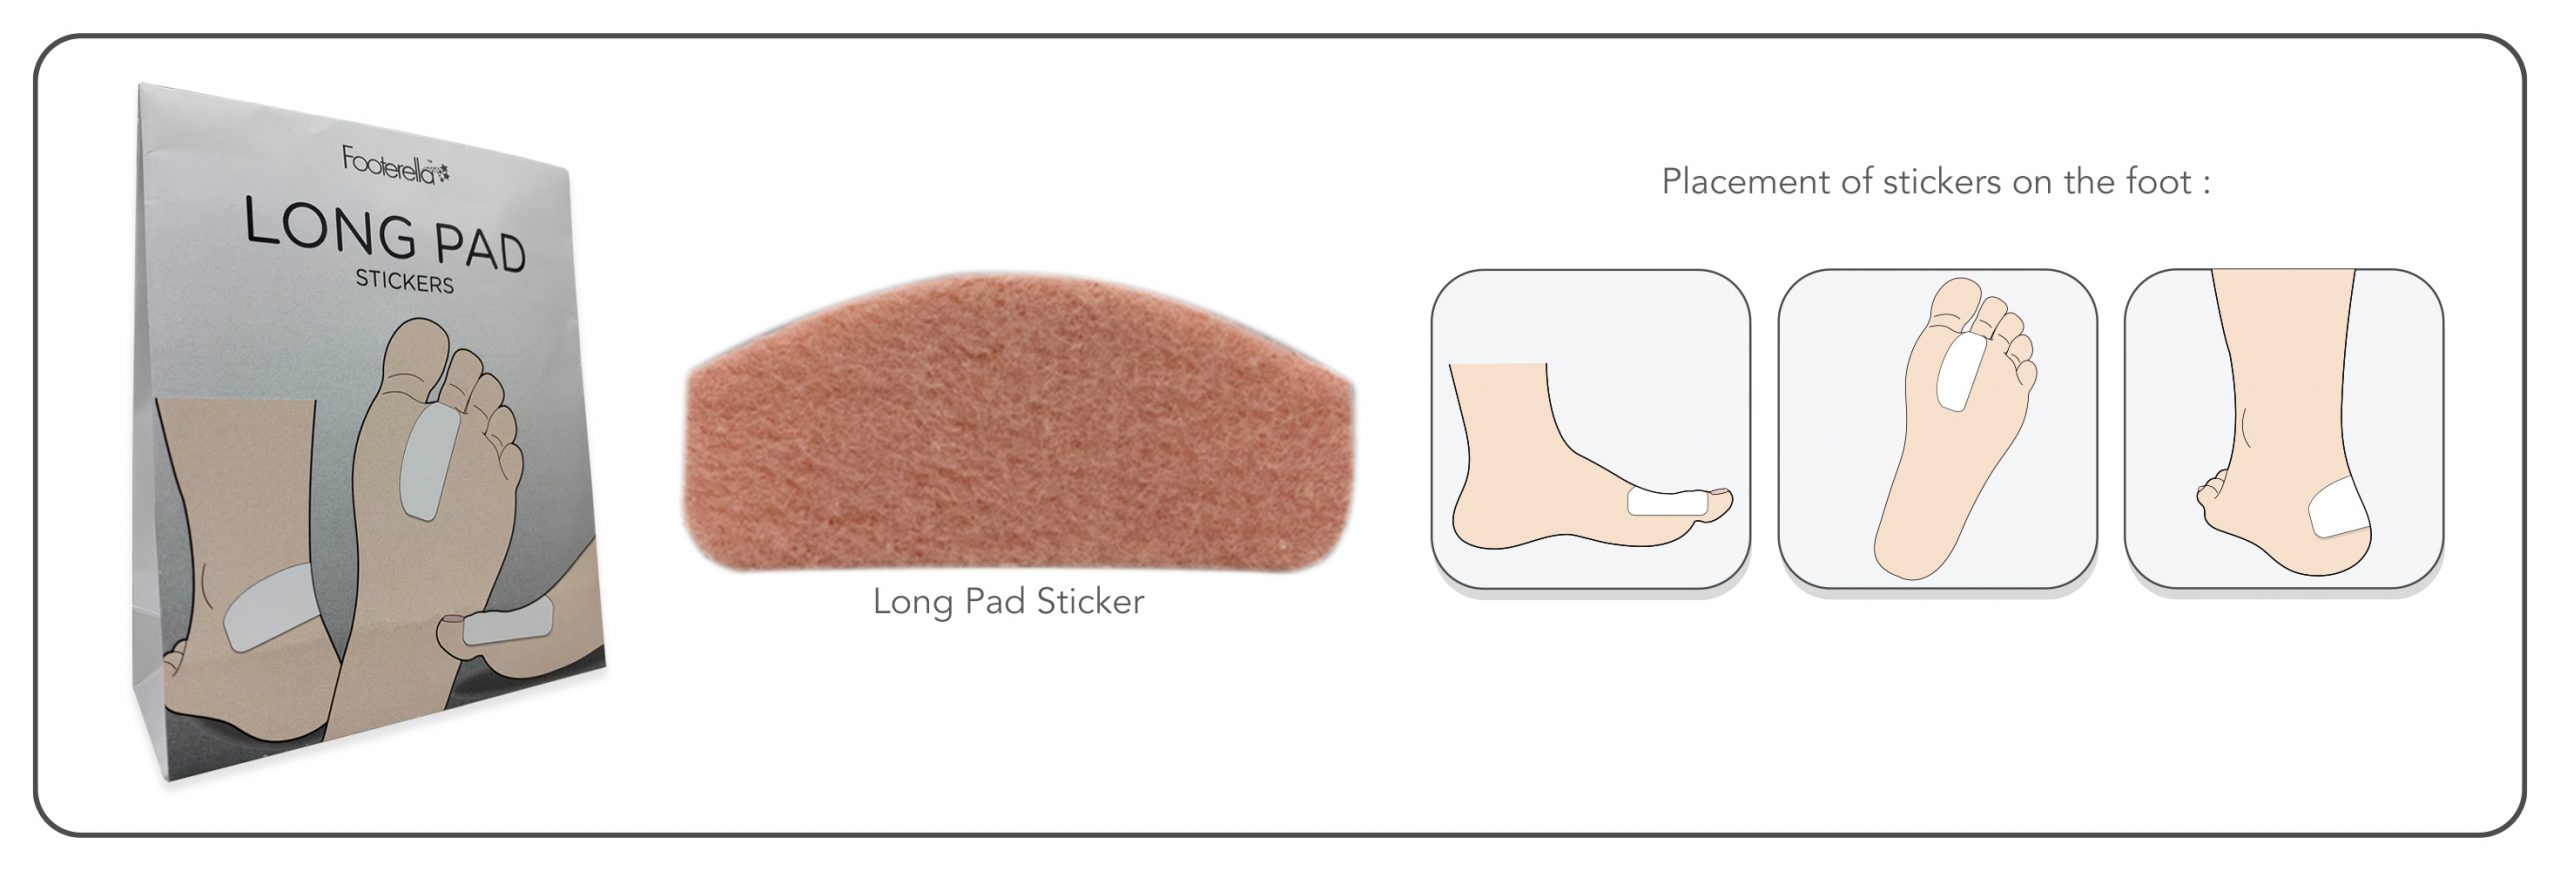
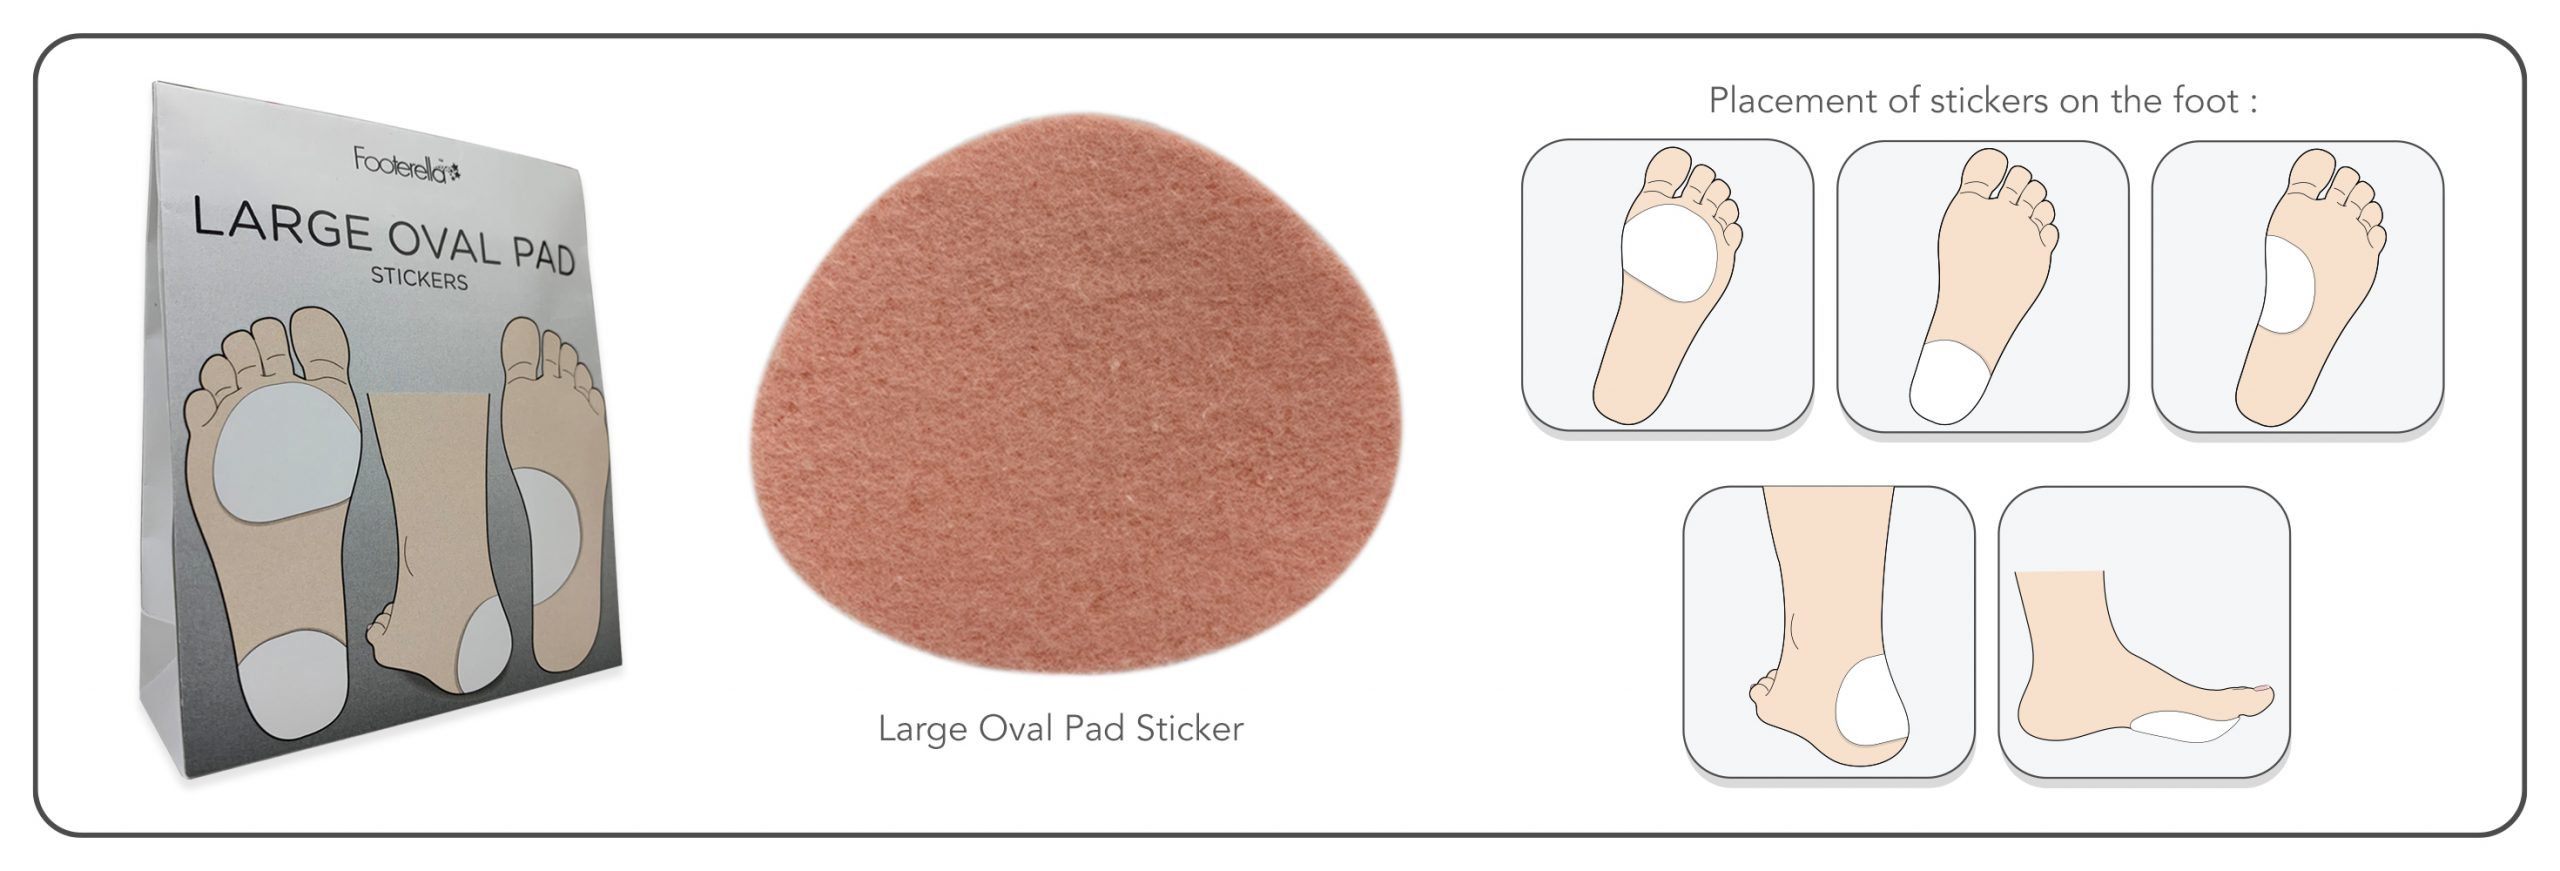
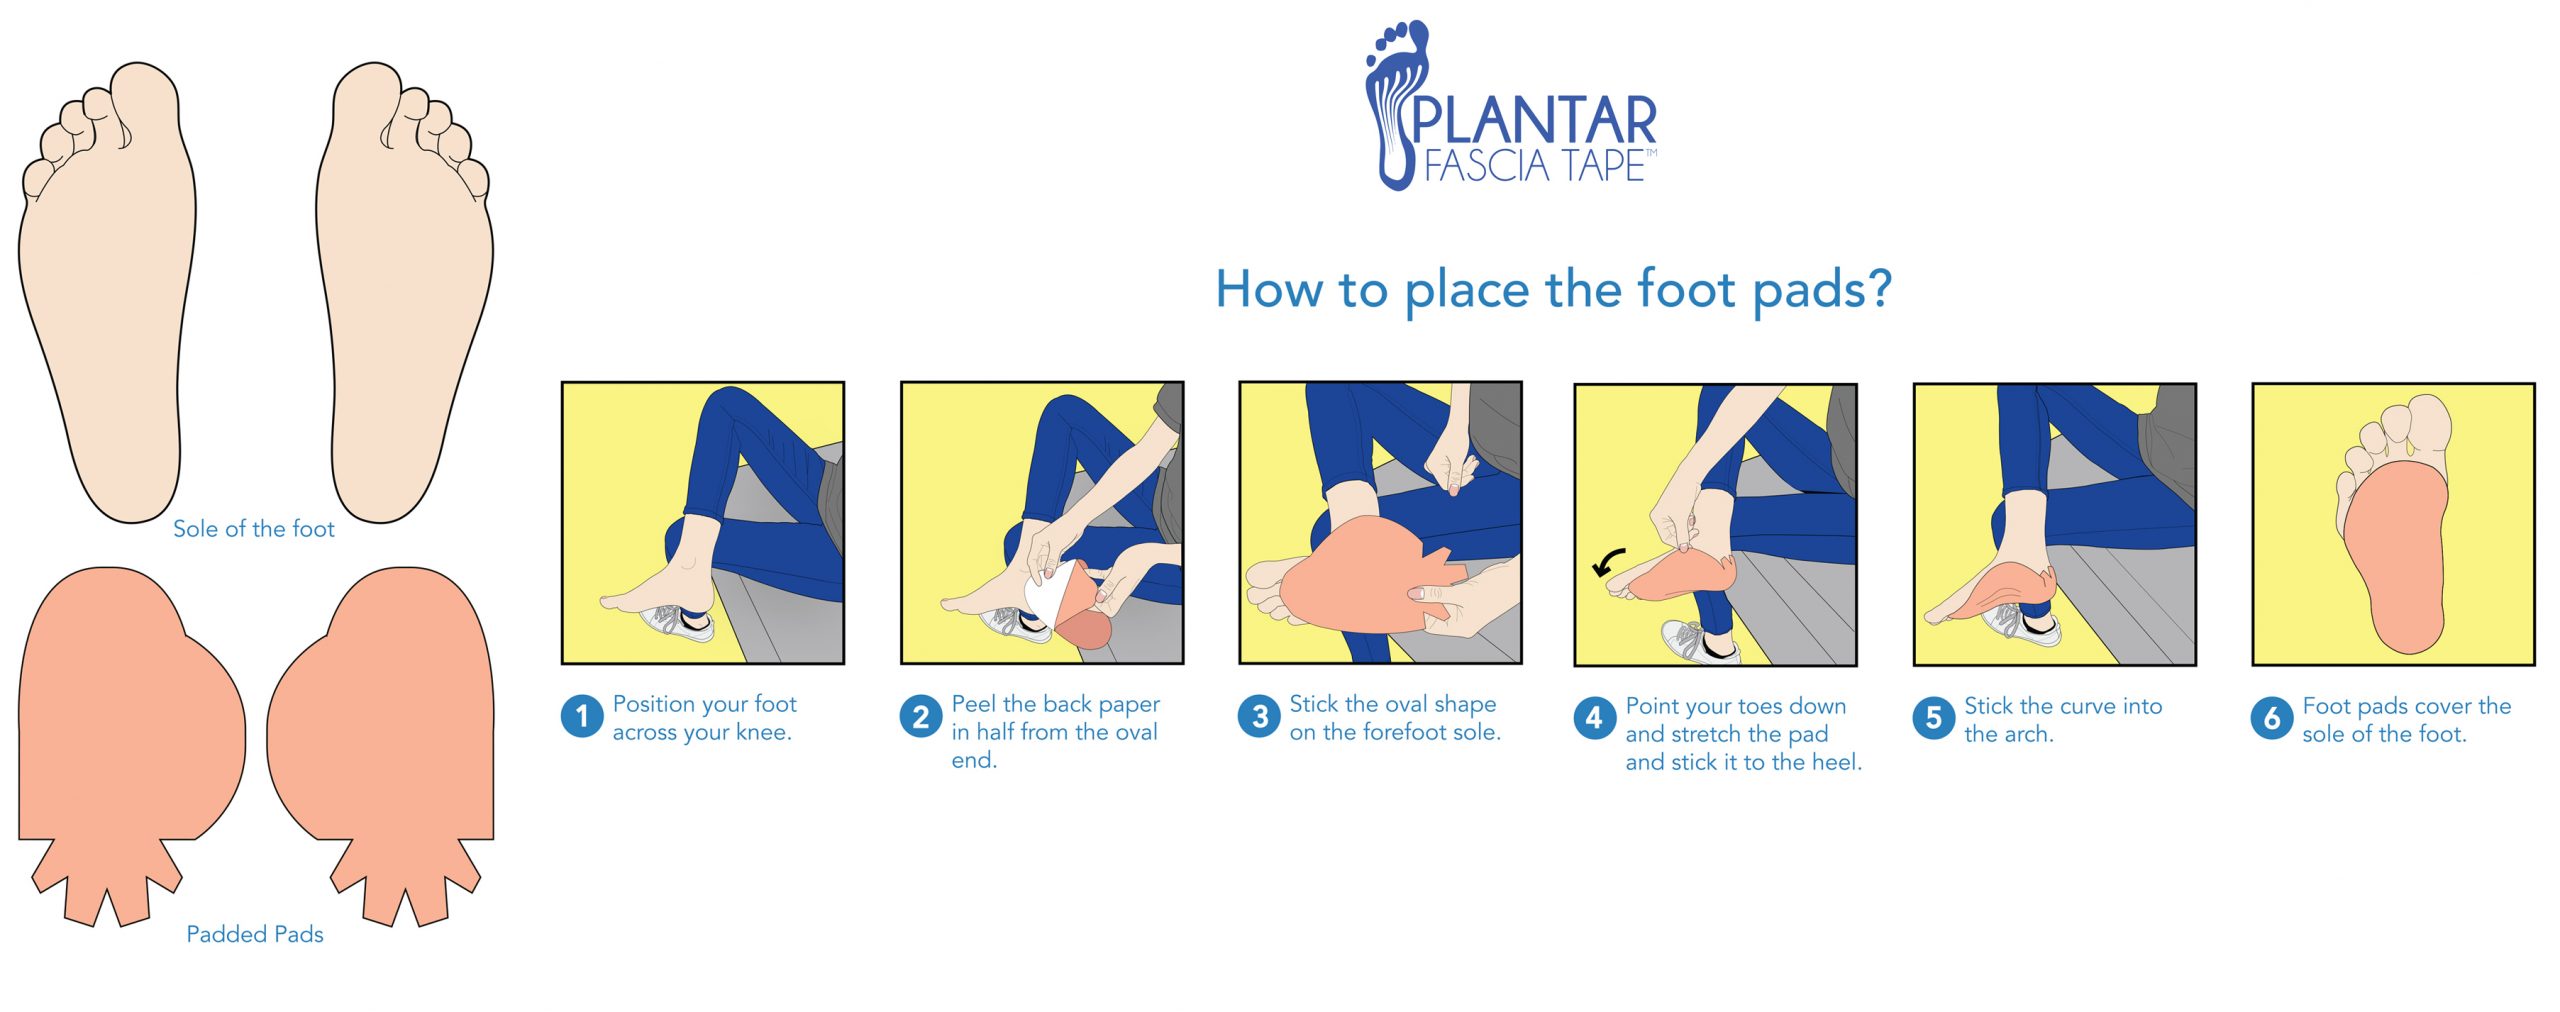
 Secondly, the cotton pads can be used directly under the heel to give extra cushioning. Another way which you can place the cotton pad is half of the pad on the arch, the other half pulled up across to reach the top of your foot. This adds support and structure to your arch which eases some of the tension on the heel.


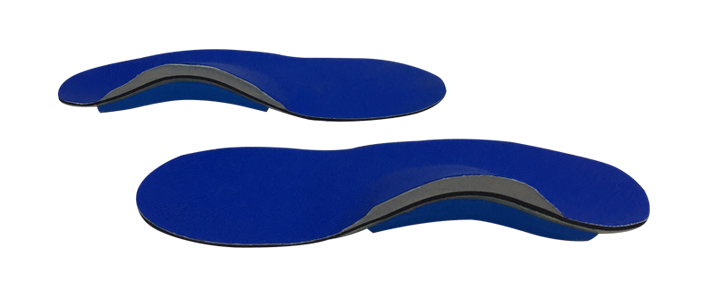
 Additionally, an insole is very helpful for easing plantar fascia. Insoles placed in shoes supports the arch and controls the movement of the foot. Most cases of plantar fasciitis happens on one foot where the foot or the pelvis leans in slightly. This puts intense stress on the plantar fascia band where it attaches on to the heel bone. By lifting this arch and aligning the ankle and foot, the plantar fascia can go back to its resting state.